When storms roll in, the last thing you want is to discover your whole-house generator isn’t working. At Peaden, our mission is to keep your home powered and comfortable no matter what the weather throws your way. That’s why we’re sharing a simple guide to help you perform a basic check on your generator. With a little time and attention, you can spot potential issues and know when to call the Peaden Pros for expert service.
Let’s walk through the essential steps you can take to test your generator.
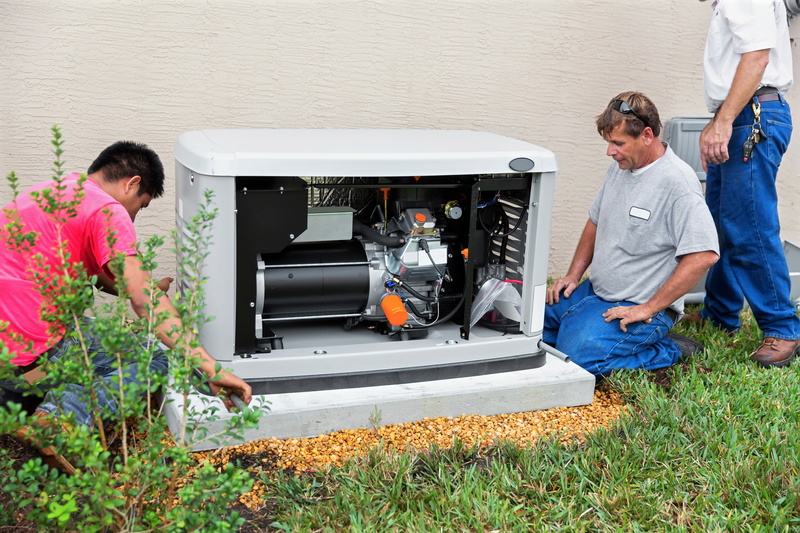
1. Inspect the Exterior
Before starting your generator, take a moment to inspect the exterior. Look for:
- Debris or blockages: Clear away leaves, dirt, or any objects that might obstruct ventilation.
- Rust or corrosion: Check for signs of wear and tear, especially around the exhaust and fuel tank.
- Loose or damaged wires: If you spot any frayed wires or loose connections, it’s time to call a professional.
Keeping your generator clean and free from debris not only ensures better performance but also prevents potential hazards.
2. Check Fuel Levels and Quality
Your generator needs high-quality fuel to run smoothly. Here’s what to do:
- Verify that your fuel tank is adequately filled.
- If your generator uses gasoline, ensure the fuel is fresh. Stale fuel can cause starting issues.
- For diesel or propane generators, confirm the fuel supply isn’t nearing empty.
If you’re unsure about the condition of your fuel, Peaden Pros can help you assess and replace it if necessary.
3. Inspect the Battery
A weak or dead battery is a common reason whole-home generators in Bradfordville fail to start. Test your battery by:
- Checking the terminals for corrosion.
- Ensuring connections are tight and secure.
- Using a multimeter to measure voltage if you have the tools.
If your battery shows signs of wear, it’s better to replace it now rather than risk it failing during an outage.
4. Perform a Test Run
Start your generator to ensure it’s operating properly. Follow these steps:
- Switch your generator to “manual” mode if it’s set to automatic.
- Listen for unusual noises, such as knocking or sputtering.
- Check for steady power output. Many generators have a display panel where you can monitor performance metrics.
Allow the generator to run for about 15 minutes. This test helps circulate oil, keeps parts lubricated, and ensures everything is in working order.
5. Examine Oil and Filters
Maintaining clean oil and filters is essential for your generator’s health. During your inspection:
- Check the oil level with the dipstick. If it’s low, top it off with the manufacturer-recommended oil type.
- Look at the oil’s color and consistency. If it’s dark or gritty, it’s time for an oil change.
- Inspect air filters for dust or debris and clean or replace them as needed.
Routine oil changes and filter replacements are crucial for long-term reliability.
When to Call the Peaden Pros
If you encounter any of the following issues, it’s time to schedule a professional service:
- The generator won’t start.
- You hear unusual sounds during operation.
- Performance metrics indicate low voltage or irregular output.
- There are signs of leaks or significant wear and tear.
Our skilled technicians at Peaden are trained to handle all types of standby generators. Whether it’s routine maintenance or emergency repairs, we’re here to keep your home powered and secure.